1a. Create Workspace Folder
- Create a folder with your preferred name on your Desktop. For example, let's assume the folder is named
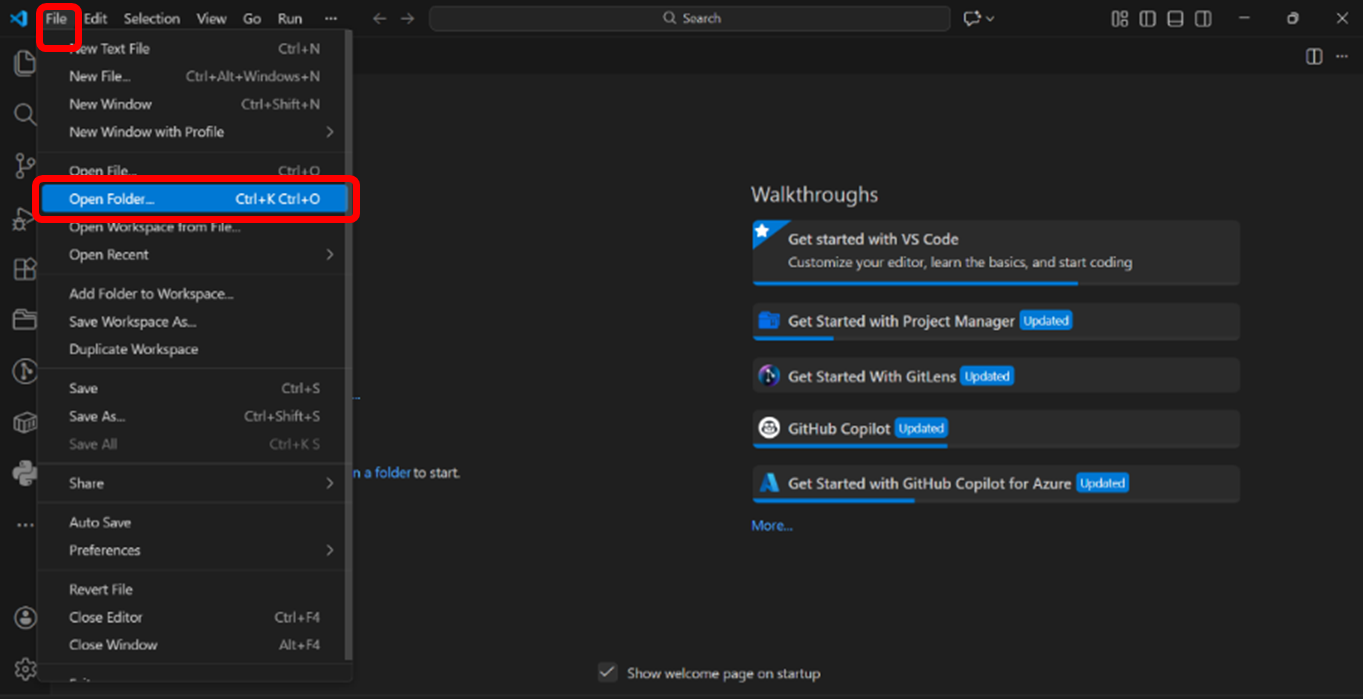
mf_excel_package. - Open VS Code and choose File > Open Folder and select your folder (See Figure 1).
1b. Create Python Virtual Environment
If already installed Python version 3.12.7 on your system, proceed to step 8.
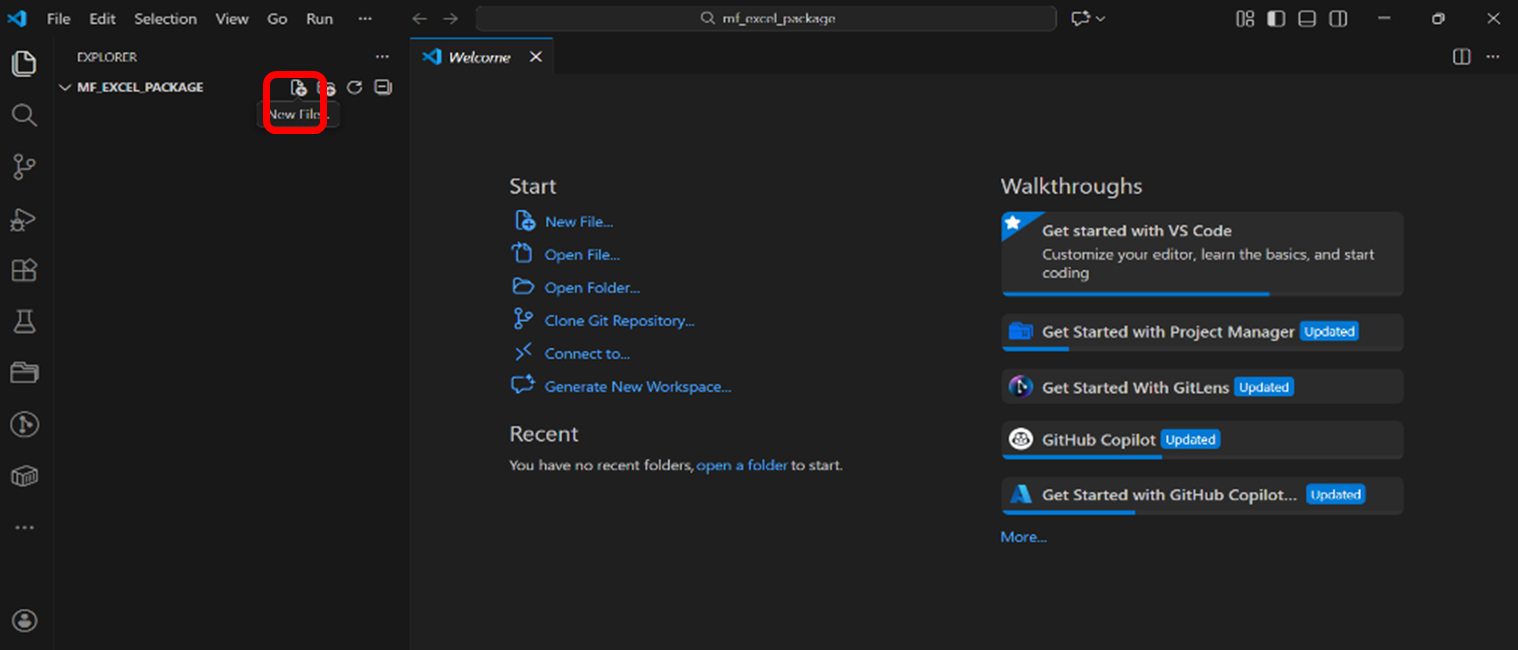
- Create an empty Python file
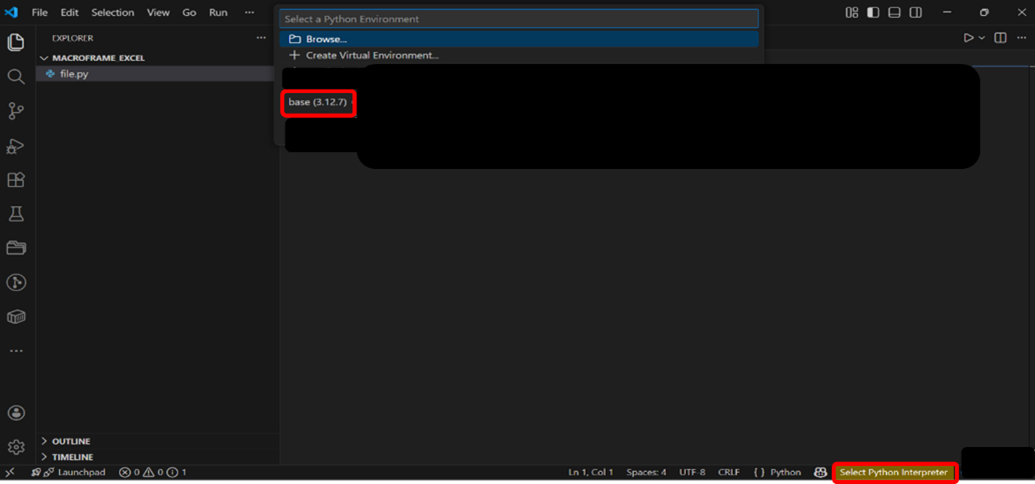
file.pyand open it (See Figure 2). - Select Interpreter > choose conda base environment (See Figure 3).
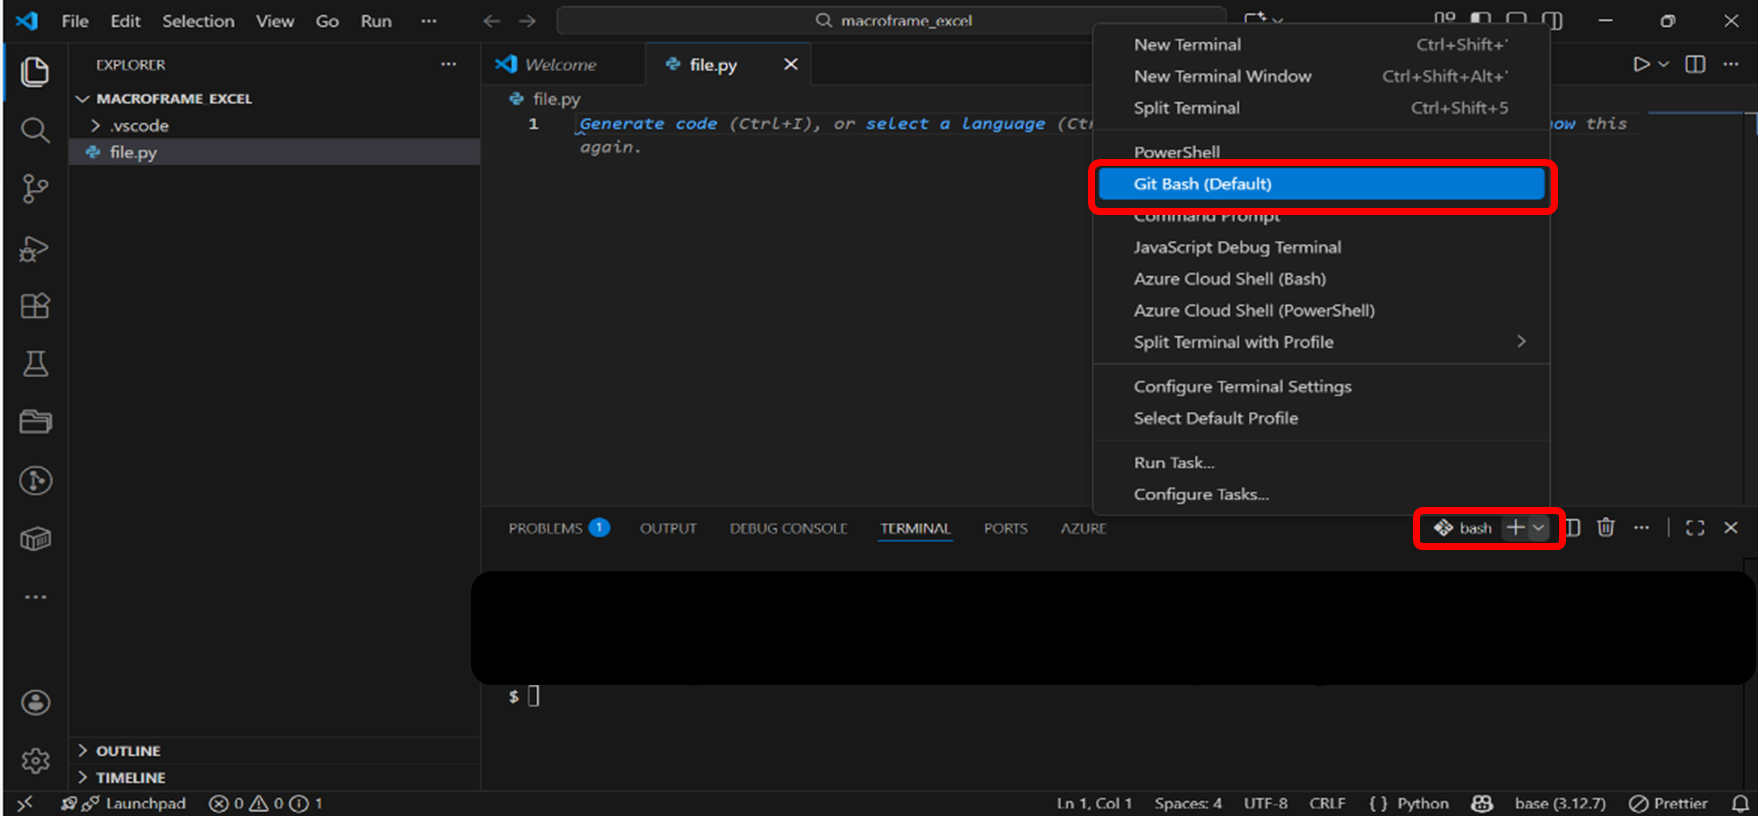
- Open a new terminal (Ctrl+Shift+').
- Select Git Bash if not default (See Figure 4).
- To install Python 3.12.7 using conda:
conda create -n "name" python=3.12.7 ipython- Select Python 3.12.7 Interpreter following step 1b2.
- Close the Bash Terminal and open a new one following step 1b3.
- Create a virtual environment:
python -m venv .venv- Activate the virtual environment in Git Bash:
. .venv/Scripts/activate1c. Install Jupyter Notebook
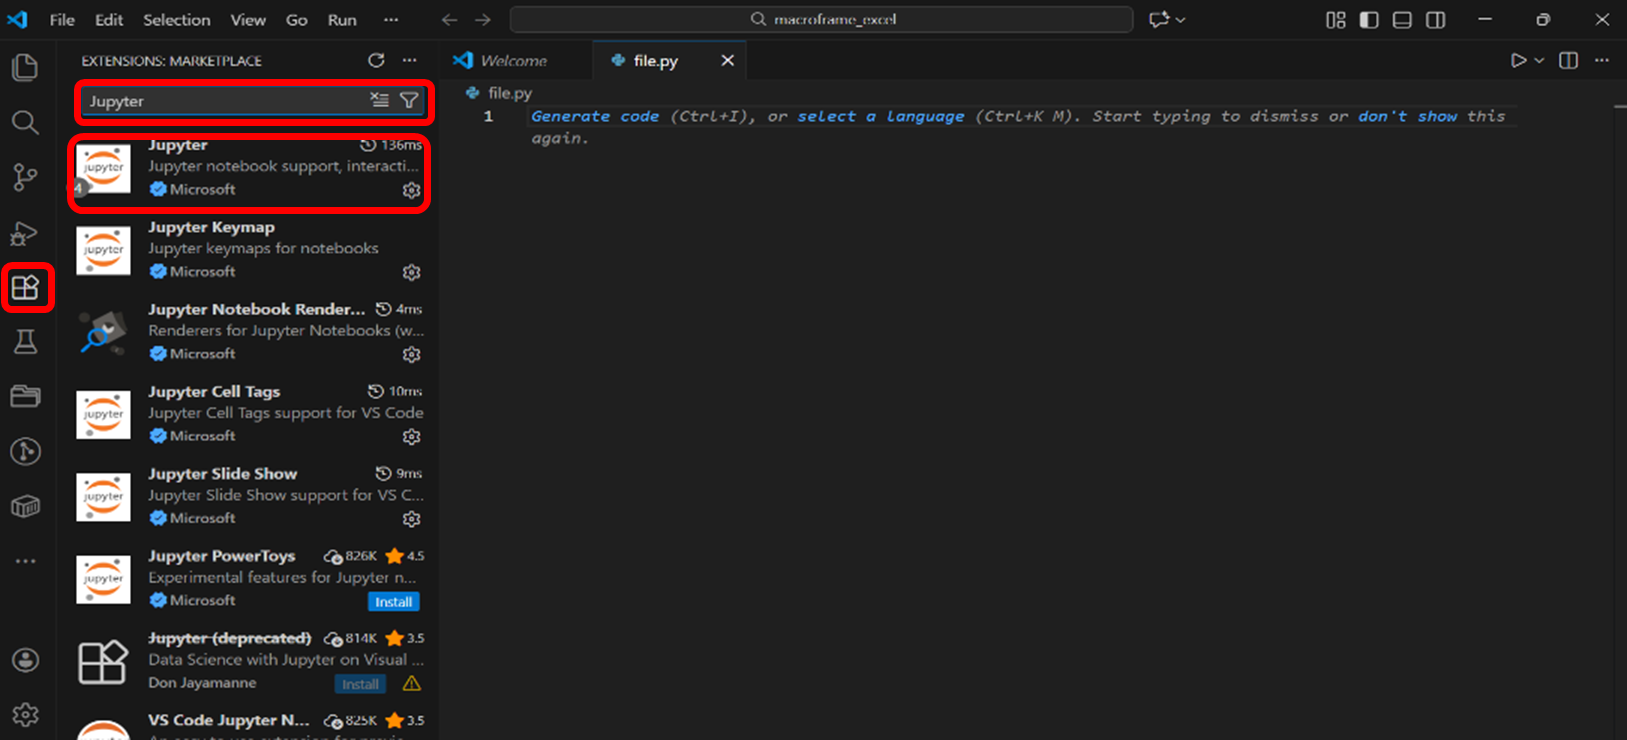
- In VS Code, go to Extensions > search for Jupyter and install the Microsoft extension.
- Create a Jupyter Notebook file named
run.ipynb, open it, click Select Kernel > Python Environment .. > and select the.venvkernel. (see Figure 5)